This section will help you start working with the program.
1. Start RadioLogger.
2. If needed, enable improved accessibility by checking RadioLogger → Accessibility (Screen Reader) in the menu.
3. In the top menu, click RadioLogger -> Settings...
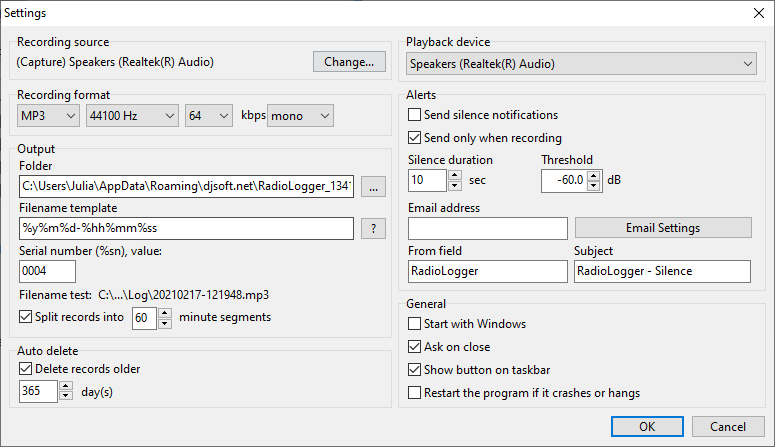
4. Select the recording source.
5. Select the desired recording format.
6. Select the folder where the files will be saved. It will be the root folder for the recordings. Set the file name template using the variables below. The file name template can include paths, allowing the creation of folders for different years, months, and days.
%y – year
%m – month
%d – day
%hh – hour
%mm – minute
%ss – second
%wd – week day
%sn – serial number
For instance, the file name can be set as %y\%m\%d-%hh. The "filename test" shows an example of the file name generated using the template.
7. In the scheduler, select the hours to record. Ensure the Auto checkbox is checked in the main window (this enables automatic recording to start and stop according to the schedule).
8. Records splitting. If "Split records into ... minute segments" is enabled, the records will be split into segments after the specified number of minutes and at the beginning of the hour. This option is ignored when the recording is started manually by pressing the "Rec" button.
9. If the log does not contain error messages and the recording time is running, the program is set up correctly.